How to Project Sewing Patterns With Inkscape
Project a sewing pattern with Inkscape: import the PDF, preserve scale, set calibration, and check the projected pattern before cutting.
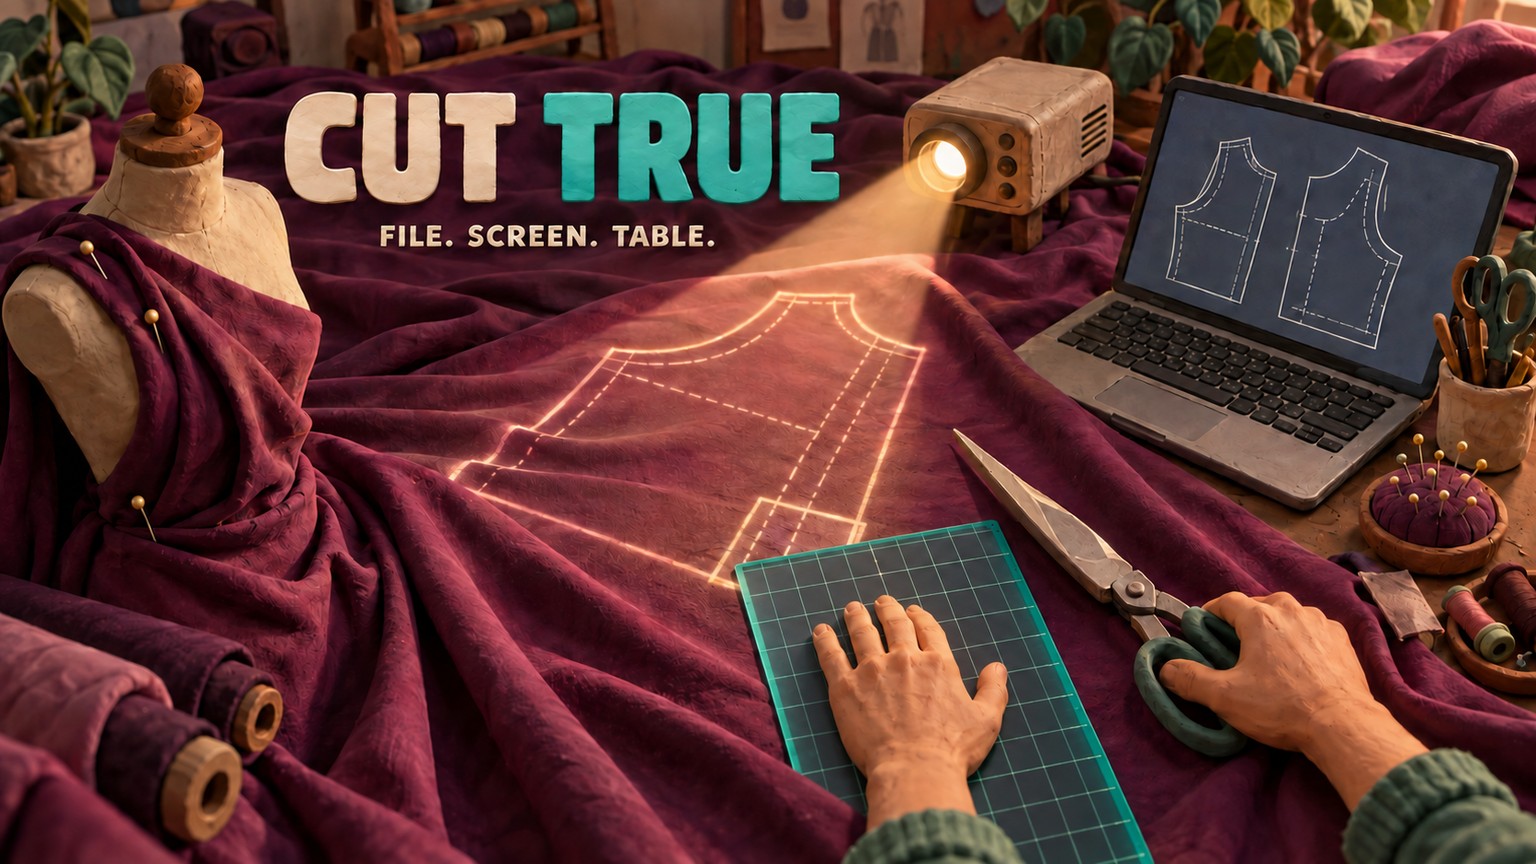
Project a sewing pattern from Inkscape only after the same known mark passes three checks: its dimensions are right in the PDF, Inkscape is showing the document at corrected 1:1 zoom, and the projected mark measures correctly on the cutting surface. That sequence turns “it looks about right” into a cutting outline you can trust. Inkscape costs $0, but it does not remove the ruler check.
The current stable release is Inkscape 1.4.4, released on May 6, 2026 for Linux, macOS, and Windows. A controlled check for this article used the official 1.4.4 AppImage on Ubuntu 26.04.1. A 100 mm vector square was exported to PDF and re-imported at 100.000065 mm, which is effectively exact at the reported precision. No projector was attached, so this is evidence for file-scale preservation, not a claim about physical projection accuracy.
The Three Scales You Must Keep Separate
The pattern can be correct inside the file and still land at the wrong size on your table. Treat the workflow like three linked rulers:
- File dimensions are the measurements encoded in the PDF. A correctly assembled pattern and its calibration square belong here.
- Display zoom is Inkscape's mapping from document units to screen pixels. Its Zoom Correction Factor makes 1:1 mean physical size for your display setup.
- Physical projection is the projector's mapping from those pixels to fabric. Mount angle, keystone, focus, aspect ratio, and throw geometry belong here.
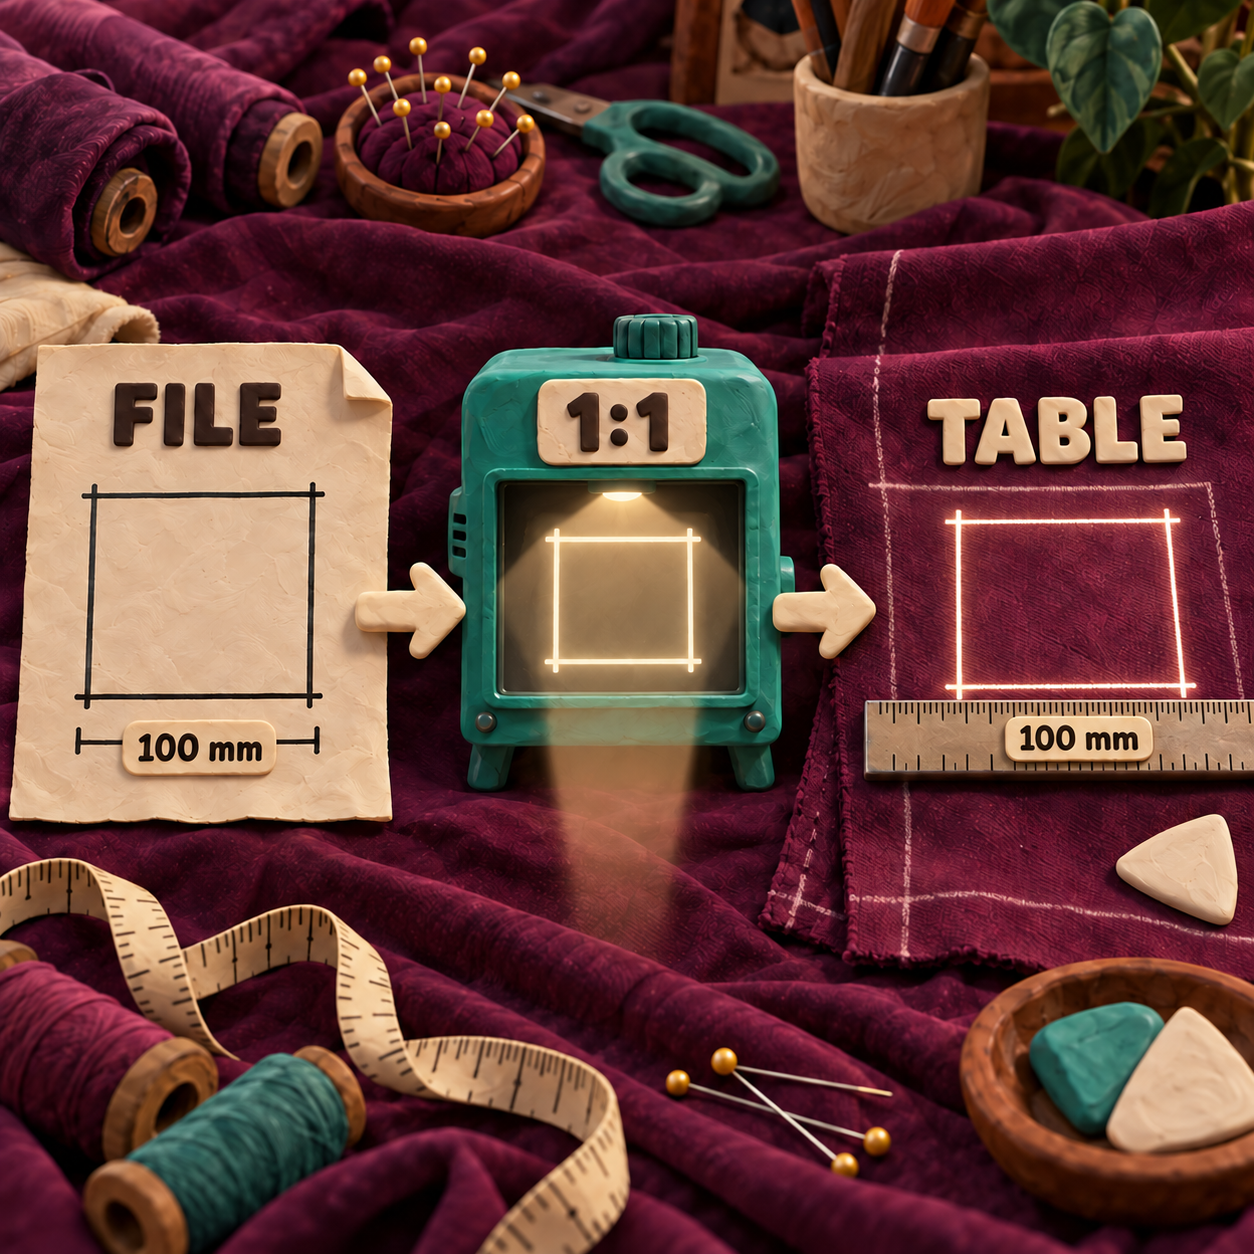
Changing one layer does not repair the others. Editing the PDF cannot square a tilted projector. Changing the zoom cannot fix a PDF that was assembled at the wrong size. A perfect zoom percentage cannot prove the image on the table is physically accurate.
That distinction is the whole method.
Start With One Assembled Pattern PDF
Use the designer's projector or large-format file when one is included. If you have only tiled Letter or A4 pages, assemble them first. The separate PDFStitcher review covers that job and its scale checks. Do not make page assembly, vector editing, and projector calibration one giant troubleshooting session.
Keep the untouched download. Open the working copy with File > Open so the PDF becomes a new document. File > Import adds a PDF to an existing document, which is useful later but adds another canvas and another opportunity to select the wrong thing. Inkscape's current multi-page workflow can import all PDF pages; for projection, choose only the page or assembled sheet that actually contains the pattern you need.
If the pattern includes size layers, open Layer > Layers and Objects and hide every size, annotation, and optional mark you do not need. Do not delete them on the first pass. Visibility is reversible, deletion is not.
Check the file before touching zoom
Find the pattern's labeled calibration square or scale line. If that object is independently selectable, use the Selector tool's width and height fields to compare its document dimensions with the label. Inkscape's official basic tutorial confirms that the tool controls bar exposes exact X, Y, width, and height values. If the calibration mark is grouped, clipped, or flattened and cannot be isolated cleanly, do not ungroup the entire pattern just to force a measurement. Preserve the source and make the physical ruler check the deciding test.
Open File > Document Properties, or press Shift+Ctrl+D, to put the page-size units in millimetres or inches. This makes the values easier to read. It is not projector calibration and it should not be used to resize the pattern.
Calibrate Inkscape to the Projected Surface
The Zoom Correction Factor is the bridge between the document and the cutting table. In the current 1.4.4 interface, it lives under Edit > Preferences > Interface. The control includes an adjustable ruler and states that the factor is used for true-size 1:1 and related zoom levels.
Before changing it, make the projector physically square and level to the cutting surface. Inkscape can correct uniform magnification. It cannot turn a trapezoid into a rectangle or repair different horizontal and vertical scaling.
Project the Preferences ruler
Connect the computer to the projector using the display mode you will use for cutting. Open Edit > Preferences > Interface and make the Preferences window wide enough to show a useful length of the built-in ruler.
Choose the same units as your ruler
Use the unit control beside the Zoom Correction Factor ruler. Match millimetres to a metric ruler or inches to an imperial ruler. This changes how you read the reference, not the pattern geometry.
Match light to matter
Place a physical ruler on the cutting surface. Adjust the Zoom Correction Factor until the projected ruler agrees with it. The practitioner calibration workflow recommends checking across at least 50 cm or 20 inches, because a tiny reference can hide a meaningful percentage error.
Return to corrected 1:1
Close Preferences and press
1. Inkscape's official shortcut reference defines1as 1:1 zoom. The corrected-percentage option has been active by default since Inkscape 1.1, so the zoom field may show the correction rather than a literal uncorrected pixel ratio.Measure the pattern's own mark
Project the actual pattern and place the ruler on its calibration square or scale line. Measure it on the table. If it is wrong, do not cut. Recheck the Zoom Correction Factor, display mode, projector geometry, and source file in that order.
Pressing 1 is the repeatable action. Typing another sewist's zoom percentage is not. The correct factor belongs to a particular computer display, operating-system scaling setting, projector, resolution, and physical mounting arrangement.
The Pre-Cut Routine
Once calibration is set, the cutting session should be boring. That is a feature.
- Open the unchanged or deliberately edited pattern file.
- Show only the required size layers.
- Press
1to return to corrected 1:1 zoom. - Move around the canvas by panning, not by resizing the pattern.
- Measure the projected calibration mark on the cutting surface.
- Check that the same mark stays square and consistent across the usable cutting area.
- Cut only after the measurement passes.
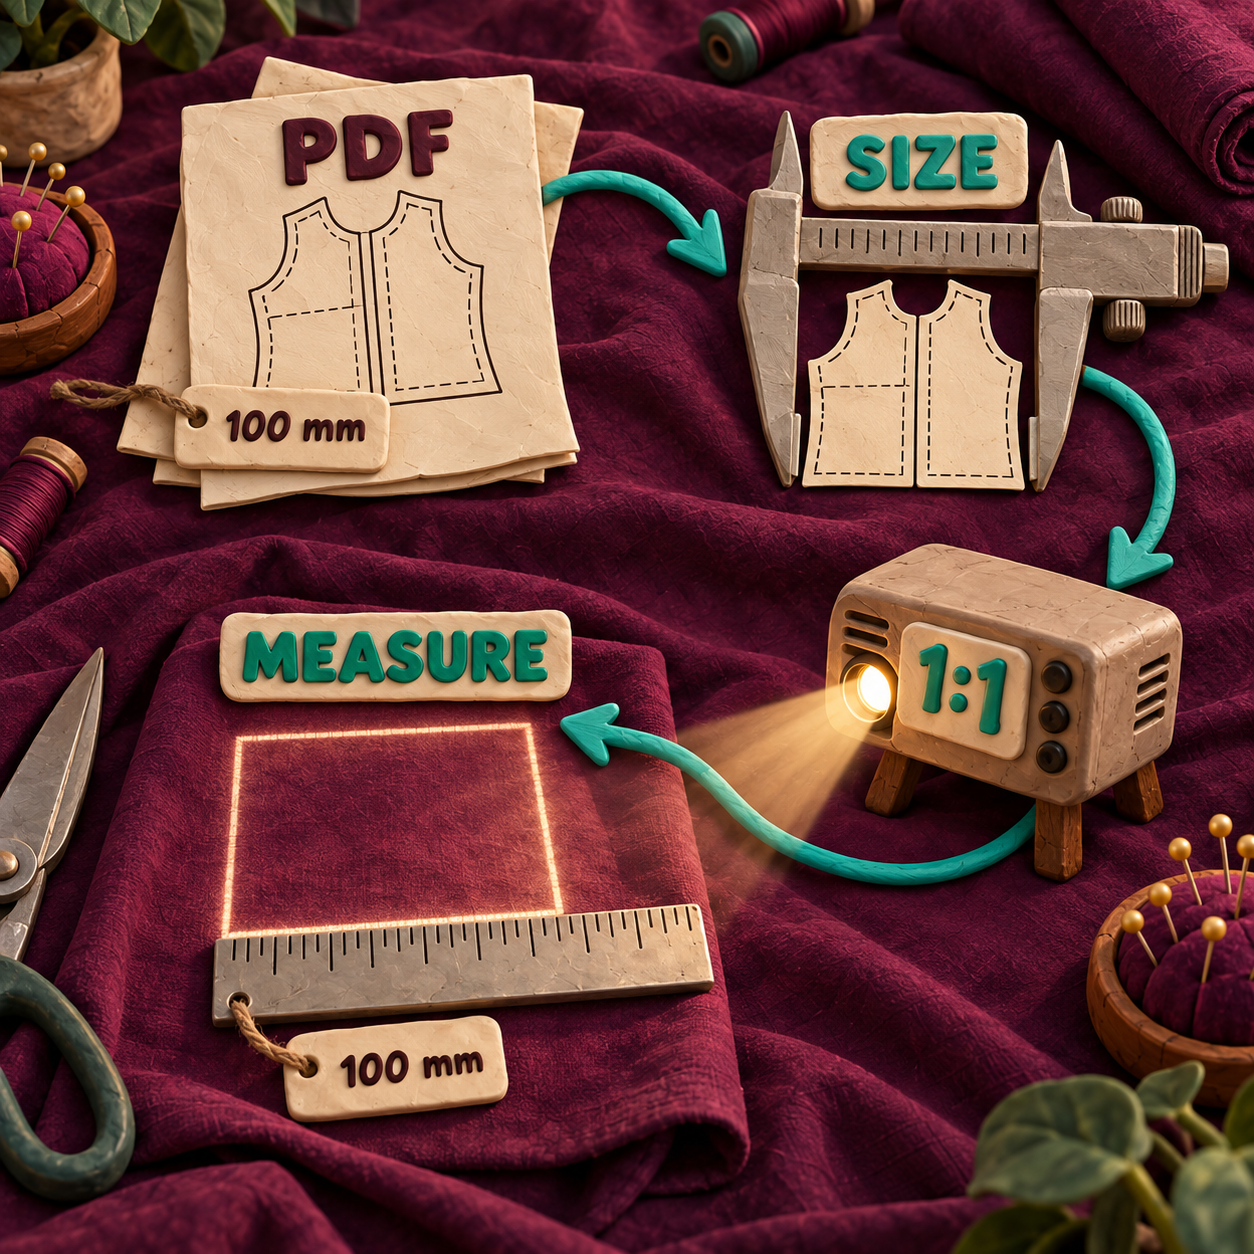
Use View > Fullscreen when interface panels obscure the pattern, but press 1 again before the final measurement. Fullscreen gives you more canvas; it is not a calibration command.
Diagnose the kind of mismatch, not just the symptom
This table is more useful than a single magic percentage. It tells you which part of the chain owns the error.
Where This Workflow Pays
The most valuable use is not simply avoiding paper. It is keeping alteration, visibility, and projection in one measurable vector workflow.
1. A made-to-measure sewist altering repeat patterns
A sewist who regularly lengthens sleeves or blends between sizes can save an editable SVG working copy, make the alteration once, and project that version again. The payoff is avoiding a fresh print, tape, trace, and alteration cycle for every repeat garment. The calibration square still has to pass before each cut.
2. A small studio cutting the same style in several sizes
A studio can keep size layers in one file, reveal the required size, press 1, and verify the mark before cutting. The payoff is a repeatable changeover without storing a paper master for every size. The risk is selecting the wrong layer, so the visible-size check belongs in the work order.
3. A costume shop handling one-off adjustments
A costume maker can duplicate a pattern piece, move or rotate it, add a fit adjustment, and project the revised outline directly. This pays when deadlines make another print-and-tape round impractical. It does not replace fitting judgment or grain-line checks.
4. A home sewist using layered projector files
A home sewist can hide unused sizes, strengthen line visibility, and pan large pieces around a smaller cutting area without changing their document size. The payoff is less visual clutter and fewer chances to cut the adjacent size line.
5. An indie pattern designer checking a release candidate
A designer can open the customer-facing PDF, select the intended layers, and run the same physical scale check a buyer will use. The payoff is catching a wrong page size, faint line, missing mark, or confusing layer before release. This is quality assurance, not proof that every customer's projector is calibrated.
6. A sewing teacher standardising a classroom rig
An instructor can keep a written profile for each computer and projector pair, start every demonstration with 1, and have students verify the same physical mark. The payoff is a shared pass/fail test rather than several people judging scale by eye.
The Software Cost Drops to Zero, the Control Work Does Not
Inkscape is free and open source. If the alternative was an individual Adobe Illustrator seat at the currently listed US$22.99 per month on an annual plan billed monthly, the software line moves from US$275.88 over 12 months to $0 before taxes.
That comparison is deliberately narrow. Inkscape does not make the projector, mount, computer, cutting surface, setup time, or measurement work free. It removes the vector-editor licence cost. The operator still owns calibration and final inspection.
For a solo sewist, that makes experimentation cheap. For a studio, it makes additional editing workstations easier to justify. In both cases, the economic win disappears if a bad scale check ruins material or forces a recut.
Three Products Worth Building Around the Workflow
Strongest: a projector-ready PDF preflight for pattern sellers
Build a service that checks page dimensions, the presence and size of a calibration mark, layer names, line contrast, and projector-friendly page layout, then produces a human-readable pass/fail report. Pattern sellers and technical editors would pay because the check attaches to every release, not every individual cutting session.
Demand is visible: “projector for sewing patterns” receives about 720 US searches a month and was up 83% year over year in this run's keyword data. The smallest sellable version is an upload page, deterministic PDF inspection, a preview, and a manual review queue for ambiguous files. The catch is PDF diversity. Fonts, clipping masks, flattened art, and licensing rules make a fully automatic green light too risky.
A calibration-profile companion
Build a small desktop guide that stores named computer-projector profiles, walks the user through a physical ruler match, records the factor and setup notes, and requires a fresh test-square confirmation before marking a session ready. The buyer is a home sewist with a permanent rig or a classroom with several rigs.
“Sewing projector calibration” receives about 40 US searches a month and grew 100% year over year in the keyword suggestions, while the live People Also Ask set includes “How to projector sewing patterns?” The MVP is a local profile store, guided checklist, and printable or projectable reference. The catch is strong free competition and a hard safety boundary: software can guide the measurement, but it should never claim a physical pass without the user's ruler input.
An alteration-to-projection workspace for micro-studios
Build a focused front end that opens a pattern, exposes size visibility, keeps an alteration history, launches corrected 1:1 view, and records the final measured check. A tailor, costume shop, or sample room would buy the workflow, not another general vector editor.
“Sewing projector” receives about 1,000 US searches a month, and “how to use a projector for sewing patterns” receives about 90 with 57% yearly growth. A useful MVP could manage files and calibration records while handing vector edits to Inkscape. The catch is maintenance across operating systems and the need to respect each pattern's licence. A wrapper with no workflow advantage will lose to free tools.
The preflight product is the best bet. It sells repeated risk reduction to publishers with catalogues, while a consumer calibration app competes directly with free software and infrequent setup needs.
Limits That Change the Recommendation
Inkscape is a strong choice when you need editable vector objects and direct projection from a computer. It is not automatically the best viewer for every sewist.
- It does not assemble a tiled pattern for you in this workflow. Use the designer's projector file or assemble the pages first, then open the result.
- It does not square the projector. A trapezoid, edge drift, or unequal axes is a physical or display-geometry problem.
- PDF internals vary. Fonts, clipping, flattened content, and layers can import differently. Keep the source and inspect the page before editing.
- A general vector editor exposes more ways to make a mistake. Moving, scaling, ungrouping, and deleting are powerful precisely because they can change the file.
- The physical ruler remains the authority. The current-app check here verified file dimensions only. No projector hardware test was performed.
Use a sewing-specific projector viewer when you mainly need quick calibration and viewing. Use Inkscape when the pattern also needs object-level changes, repeatable layer control, or an editable master.
Inkscape Projector Sewing FAQ
Can Inkscape be used for pattern making?
Yes. Inkscape is a vector editor, so it can draw and alter paths, manage layers, and retain exact document dimensions. For projection, the practical advantage is editing and viewing in the same file. It is not a dedicated garment-drafting system, so fit logic, grading rules, and sewing construction still come from the pattern maker.
What is the best software for projecting sewing patterns?
Use a sewing-specific viewer when the job is simply open, calibrate, and project. Use Inkscape when you also need to move pieces, adjust paths, manage layers, or keep an editable vector master. The best tool is the one that preserves the source scale and gives you a physical measurement check before cutting.
What are the disadvantages of Inkscape?
Its general-purpose interface has more controls than a projector-only app, PDF structures do not always import neatly, and it cannot correct a badly mounted projector. The biggest operational risk is accidental scaling. An untouched source, corrected 1:1 shortcut, and ruler check control that risk.
How to projector sewing patterns?
Start with an assembled projector or large-format PDF. Open it in Inkscape, show the needed size layers, calibrate the Zoom Correction Factor against a physical ruler, press 1 for corrected 1:1, then measure the pattern's projected calibration mark on the cutting surface. Cut only after that measurement matches.
The Monday move is simple: choose one permitted pattern with a calibration mark, keep the original, open the assembled sheet in Inkscape, set the ruler correction, press 1, and measure the projection before any fabric reaches the table.
If you want a scale-safe creative workflow like this built around your own files and team, see the services available.
- Last Updated
- Sep 18, 2026
- Category
- Design
Prefer this site in Google


Mark omidsaffari.com as preferred and Google lifts it in Top Stories, AI Overviews and AI Mode for you.
KnitBird Knitting Software Cost
KnitBird is free, but support has ended. Check activation, Adobe AIR, old paid-license wording, and compatibility before installing.Sep 18, 2026Design
PDFStitcher Review
Review PDFStitcher for joining tiled sewing PDFs, preserving size layers, fixing overlaps, and preparing a correctly scaled pattern.Sep 18, 2026Design
WeavePoint 9 Review for Loom Control
Review WeavePoint 9 for manual pick tracking and electronic loom control, including driver compatibility, Windows requirements and upgrade checks.Sep 17, 2026Design
Best Software for Punch Needle Patterns
Compare punch needle pattern software for clean outlines, photo conversion, color control, mirrored transfers and full-size printing.Sep 17, 2026Design
Glass Eye 2000 Review
Review Glass Eye 2000 for stained glass drawings, piece labels and full-size patterns, with edition limits, trial access and compatibility checks.Sep 17, 2026Design
Stitch Fiddle vs Chart Minder
Compare Stitch Fiddle and Chart Minder for photo charts, gauge, editing, privacy and print exports before choosing a browser pattern editor.Sep 17, 2026Design
Lace8 Pricing (2026): Licence, VAT and Add-Ons
Understand the Lace8 licence, VAT and optional motif packs so an add-on listing does not become your software budget.Sep 17, 2026Design