How to Tile Sewing Patterns in Seamly2D
Export a Seamly2D pattern as tiled pages, set the printer scale, align the sheets and check a test square before cutting fabric.

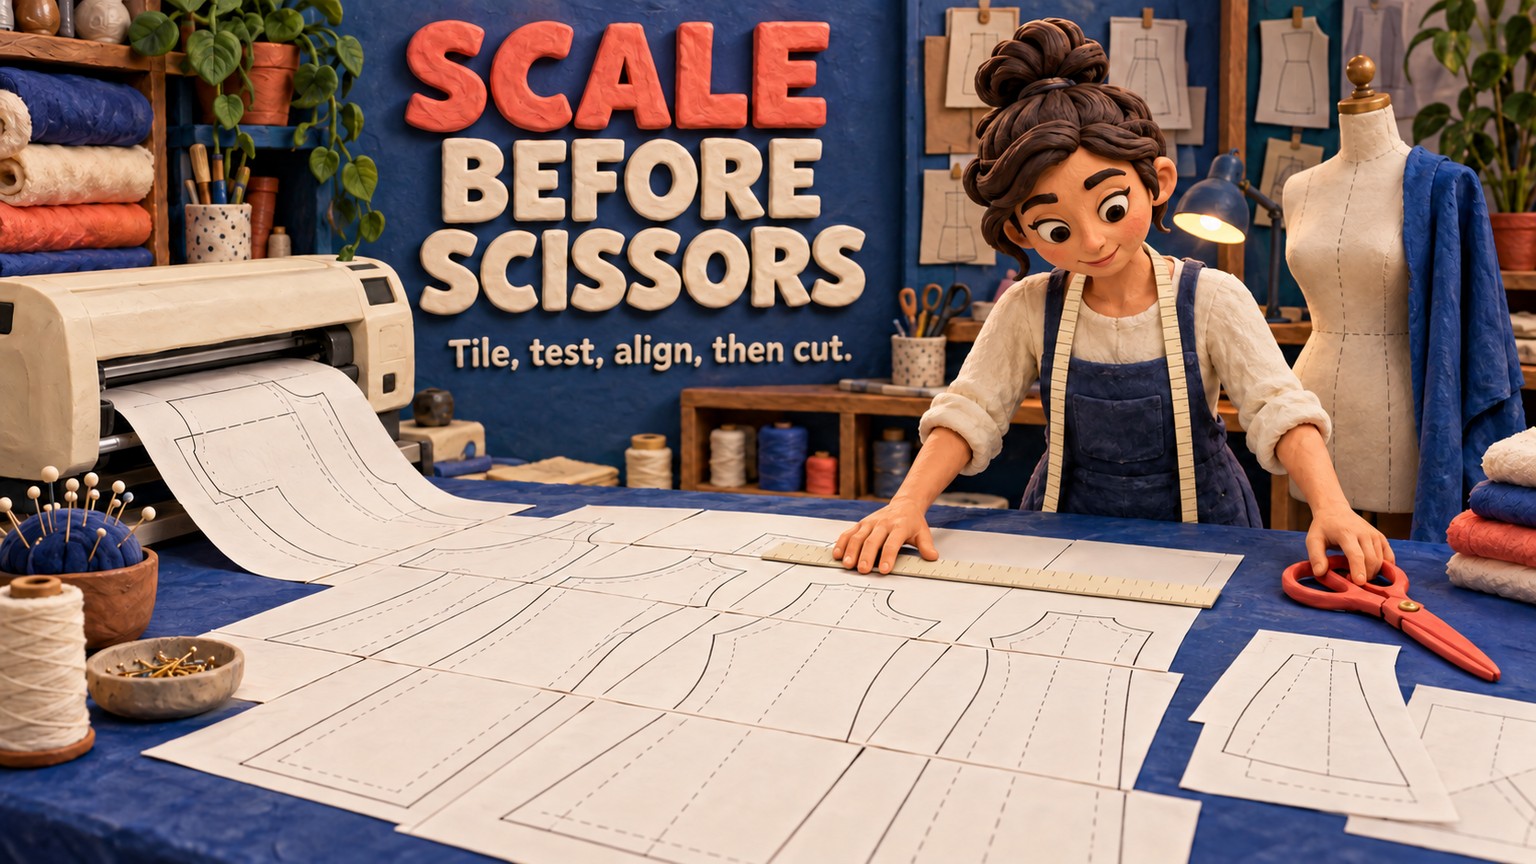
You can turn one full-scale Seamly2D layout into A4 or Letter sheets without paying for another pattern tool. The safe route is to make one large print layout, tile that layout inside Seamly2D, print at 100%, and let a measured test square decide whether the full job leaves the printer. Seamly is free and open source, but one unchecked “Fit” setting can still waste the whole print run or, worse, send you to the fabric with a scaled pattern.
The short answer
Finish the pattern pieces, add a test square, and create a large sheet in Layout mode. Then open File > Preview > Preview tiled PDF, use Page Setup to choose A4 or Letter, and inspect every tile. Export the layout with PDF tiled selected. In the PDF viewer or printer dialog, choose 100% or Actual Size, never Fit, and print only the page containing the test square. Measure it before printing the rest.
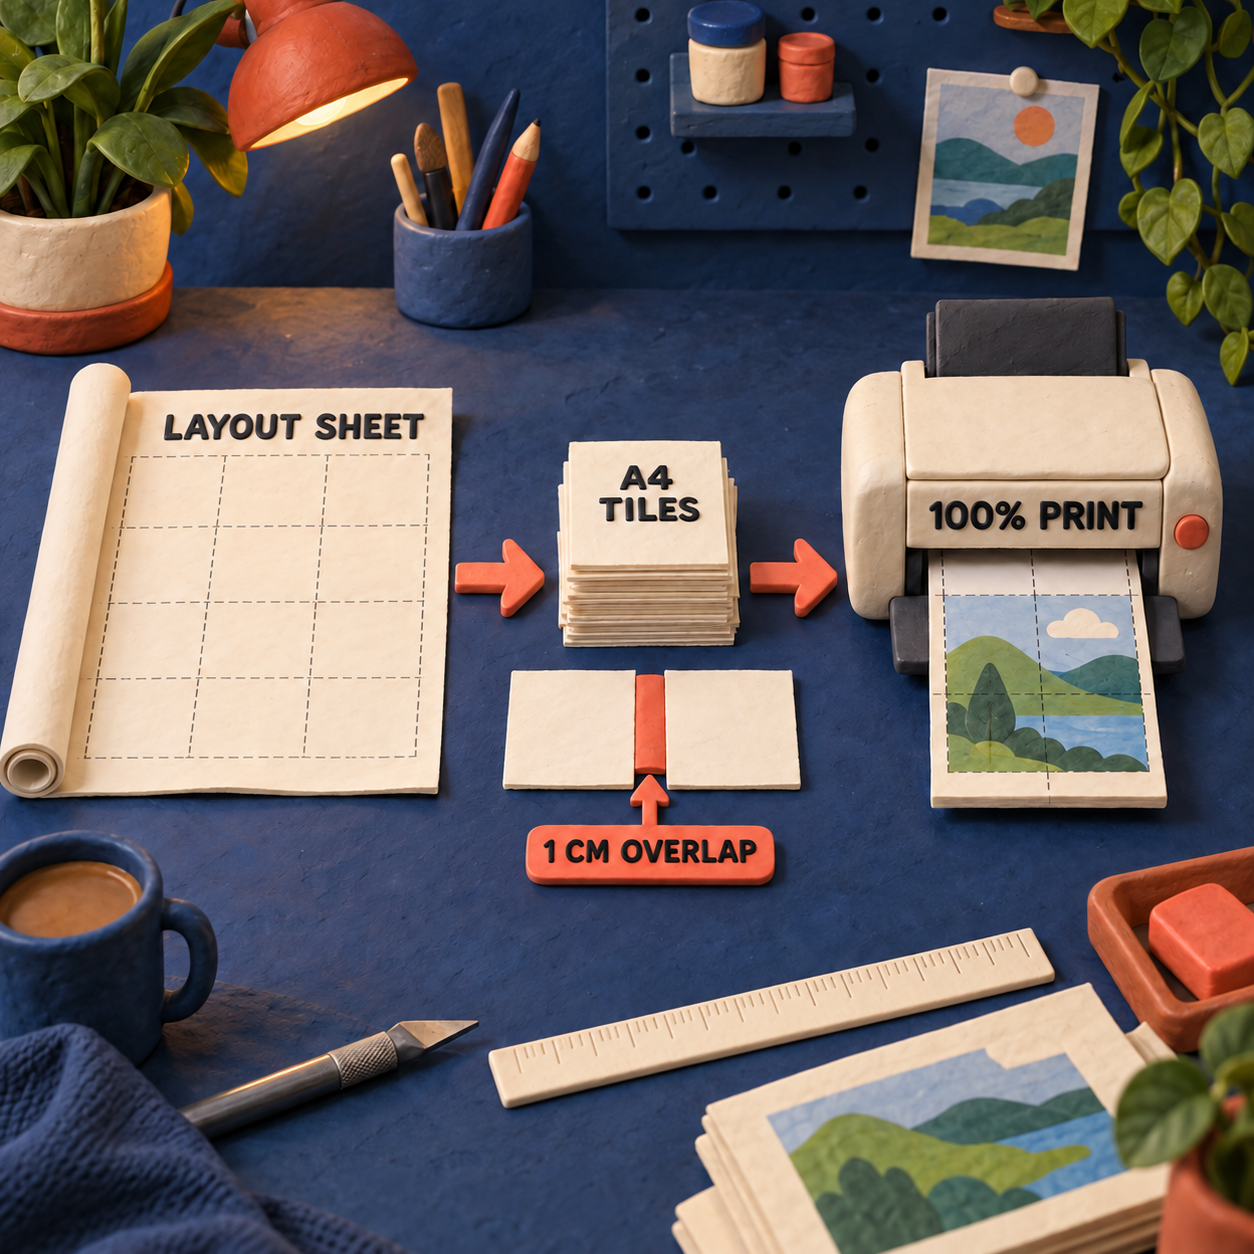
That sequence matters because Seamly2D is handling two different sheets:
- The layout sheet is the large virtual surface holding the complete pattern pieces.
- The tile paper is the physical A4 or Letter paper in your printer.
Think of the layout sheet as a cutting table and the tiles as camera frames passing over it. Making the cutting table A4 does not create useful A4 tiles. It usually prevents a larger pattern piece from fitting at all. The current Seamly2D interface keeps the tiled option in Layout mode, and the official source still labels the commands New Print Layout, Preview tiled PDF, Print tiled PDF, and PDF tiled in the September 2026 release.
Set up the pattern before you tile it
Tiling should be the last production step, not the place where you discover an unfinished piece. In Draft mode, turn the required paths into pattern pieces. In Piece mode, confirm the seam allowance, cut line, grainline, labels, notches, internal paths, and which pieces are included in the layout.
Add a calibration shape now. A practical official recommendation is a 10 × 10 cm square, or 4 × 4 in for an inch-based pattern. Give it no seam allowance. You can draw it in a separate draft block, or place it as an internal path inside a pattern piece so it travels with that piece. The official test-square discussion makes the point plainly: export, print, measure, and only then commit to the full layout.
The square proves the scale on one sheet. For a large pattern, also include or identify a straight measured line that crosses one tile boundary. That second check tells you whether the overlap was assembled correctly. This is a workflow recommendation, not a Seamly2D feature.
Tile the pattern in Seamly2D
1. Create the large layout
Switch to Layout and choose New Print Layout. Pick a layout paper size at least as large as the biggest pattern piece. A roll-paper preset or a custom large sheet is usually more useful than A4 or Letter at this stage. Turn on Auto crop unused length when a roll layout would otherwise leave a long empty tail.
Accept the settings and let Seamly2D arrange the pieces. This arrangement is the master sheet that will be sliced later. If Seamly2D refuses to generate it, the first thing to check is whether the chosen layout sheet can contain the largest piece.
2. Open the tiled preview
With the layout visible, use File > Preview > Preview tiled PDF. Choose the overview control to see all pages at once. This is where blank tiles, a lone sliver on an extra page, or a poor orientation become obvious before paper is used.
Open Page Setup and choose the paper actually loaded in the printer:
- Use A4 for an A4 printer workflow.
- Use Letter for US Letter paper.
- Compare portrait and landscape. Keep the orientation that produces the clearer, smaller page set.
- Set margins to match the printer’s real non-printable area. Use zero only when the printer genuinely supports borderless output and you have proved it.
Margins and overlap are not the same thing. Margins reserve space the printer cannot use. Seamly2D’s current tiled-poster code separately reserves a 1 cm allowance for joining adjacent pages. Increasing margins reduces the usable area of every tile and can create more pages.
3. Export the tiled PDF
Choose Export Layout from the Layout menu, or Export Layout As... from File. In the export dialog, select PDF tiled (*.pdf), confirm A4 or Letter, orientation, and all four margins, then save.
If PDF tiled is missing, you are probably exporting pattern pieces rather than a generated layout. The current application deliberately removes that format outside Layout mode. A Piece-mode PDF or SVG is full size, not a ready-made home-printer page set.
4. Print one proof page at true scale
Open the saved PDF and check the printer dialog, even if the PDF looked correct in Seamly2D. Set scaling to 100% or Actual Size. Disable Fit, Shrink oversized pages, and any driver option that silently resizes the document. Confirm that the printer paper matches the PDF’s A4 or Letter format.
Print only the tile containing the test square. Measure the printed outline, not the outside of the paper. A 10 cm square must measure 10 cm. If it does not, stop and fix the PDF viewer or printer setting. Do not compensate by changing the Seamly2D draft.
Once the square passes, print the remaining pages with the same saved printer settings.
5. Assemble by the printed grid
Current tiled pages carry a grid coordinate, a page number, and a sheet number when the layout contains more than one large sheet. They also carry dashed borders and scissors at cut edges. Use those printed marks instead of guessing from the pattern-piece shape.
The simplest assembly method is to keep the pages uncut, overlap the next page over the right or bottom allowance, and align both the dashed border and the pattern lines. Tape one row at a time, then join the completed rows. If you prefer trimming, cut only the marked joining edge and keep the matching overlap on its neighbour.
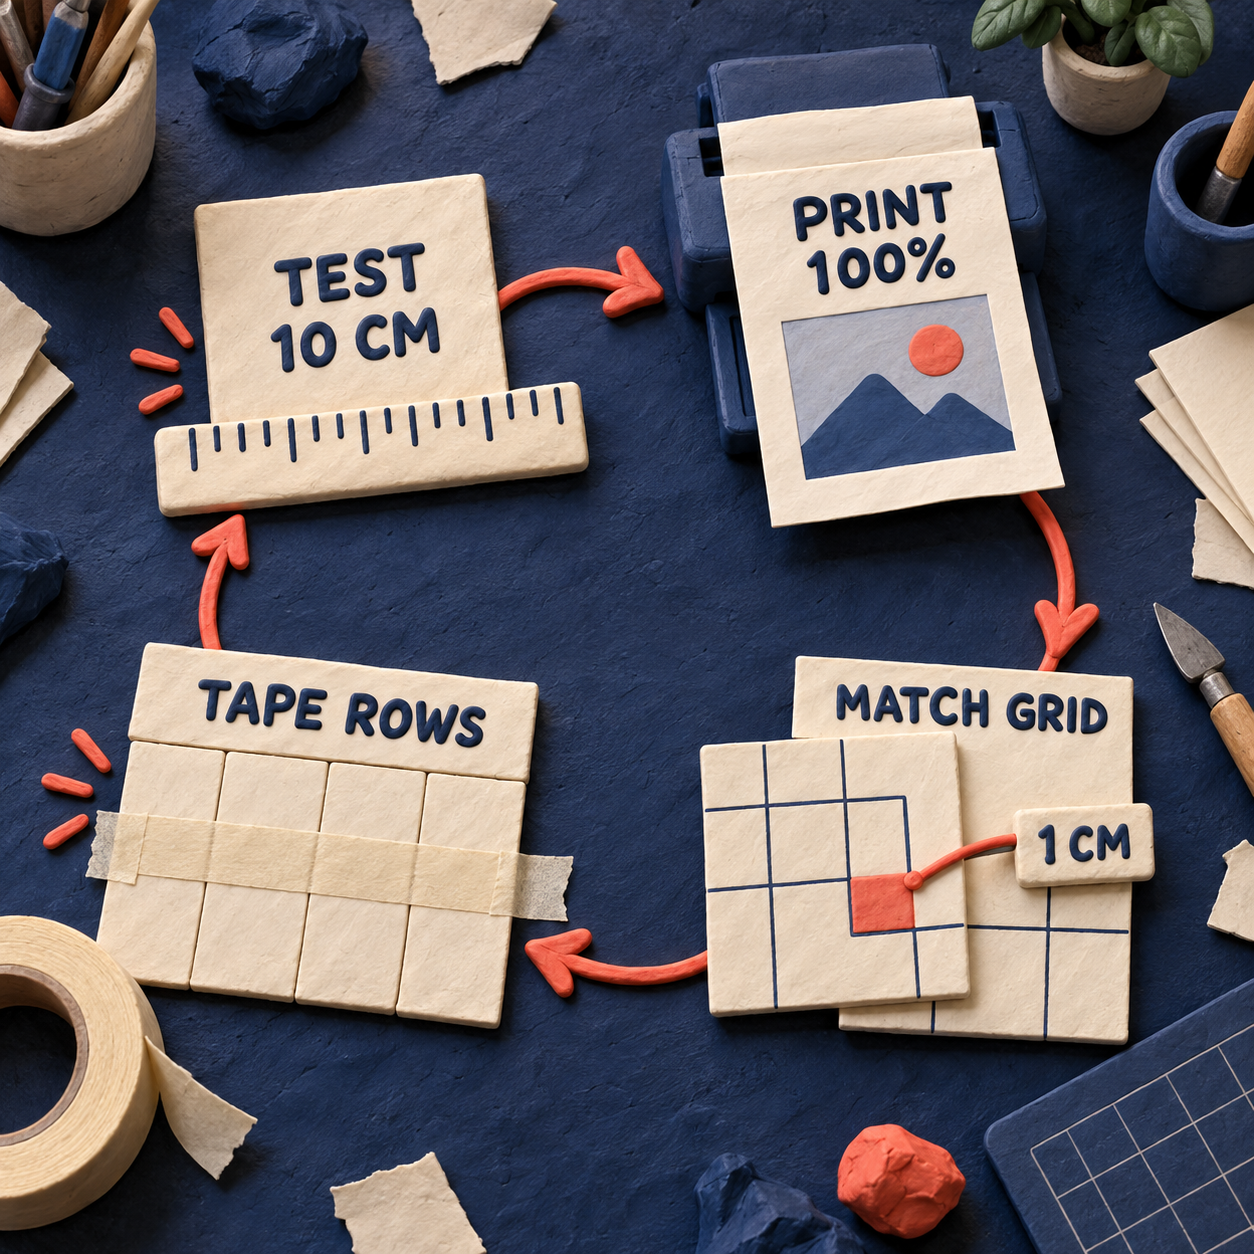
Before cutting fabric, remeasure the test square and the known line that crosses a page join. A correct square with a drifting cross-page line points to assembly or inconsistent printer output, not the draft geometry.
The settings that people confuse
Export scale and printer scale are different checkpoints. Seamly2D can produce full-size geometry, then a PDF viewer can shrink it at the last moment. The test square catches that handoff failure.
Who gets the most value from this workflow
The people who profit most are the ones who must make the same file print correctly on someone else’s machine.
If the recipient will project instead of print, send one assembled full-size PDF and use a projection workflow such as projecting sewing patterns with Inkscape. Tiling and projection solve opposite delivery problems.
The business math is one proof page versus the full run
Seamly2D itself costs $0. By comparison, Tailornova says personal access starts at $29 per month, while CLO lists an Individual license at $50 per month. That price gap makes Seamly2D attractive, but free drafting does not make failed output free.
The useful calculation is smaller and more operational. Without a proof, a bad printer setting consumes the complete page set and may invalidate cut fabric. With a proof, the failed unit is one test page. For a pattern seller, the same check moves scale verification from every customer’s support request into the product-release routine.
Two products worth building around this
1. Print-ready pattern preflight, the strongest opportunity
Build a browser tool that accepts one full-scale PDF or SVG and returns A4 and Letter editions with a test page, tile map, page labels, overlap, and a machine-readable preflight report. Independent pattern sellers would pay to make every release repeatable before it reaches customers.
The exact US query “pdf sewing pattern printing” gets about 30 searches per month, with keyword difficulty 5. That is not a mass market. It is a small, specific job with obvious buyer pain. The smallest sellable version needs file upload, two paper presets, margin controls, lossless vector output, a measured test square, and a downloadable page manifest.
The catch is the last mile. A web tool cannot force a customer’s printer driver to use Actual Size. The product needs a diagnostic test page and clear failure messages, not just a download button. It also competes with free PDF viewers, so the value must be preflight confidence and lower support work.
2. A Seamly2D print-production kit
Build a paid setup kit for sewing schools, sample rooms, and pattern businesses: verified starter files, A4 and Letter print profiles, test-square pieces, a release checklist, and a short staff training path. The broader US query “sewing pattern software” gets about 720 searches per month, has commercial intent, and carries a $3.55 CPC.
An MVP can be a versioned template pack plus a guided configuration audit. The honest catch is that this demand is category-wide, not Seamly-specific. Since Seamly2D is free, a folder of templates is a weak moat. The product has to sell maintained compatibility, team training, and accountable output checks.
The preflight product is the better bet. Its search volume is smaller, but its promise is tighter, its result is testable, and it sits directly between a finished pattern and a costly support problem.
Limits and the honest take
Seamly2D can create correct tiles, but it cannot guarantee that your printer will honour them. The PDF viewer, driver, paper mismatch, and physical alignment all sit outside the draft. That is why 100% printing and a ruler remain part of the workflow.
The automatic layout is also not a nesting engine you should trust for minimum paper use. It may leave gaps, create blank tiles, or rotate pieces in ways a human would not choose. Try a different roll width, enable Auto crop unused length, and compare portrait with landscape. If the arrangement is still wasteful, export the pieces as SVG or full-size PDF, arrange them manually, and tile them in another application. The related Inkscape workflow explains the full-size side of that handoff.
Use a wide-format print service when the assembly itself creates unacceptable risk, especially for very large pieces or work that must preserve long curves precisely. Home tiling is a delivery convenience, not a substitute for proof.
Monday move
Take one finished Seamly2D pattern next week and make a release pair: one A4 tiled PDF and one Letter tiled PDF. Put the same 10 cm test square in both, print only that page at Actual Size, record the printer settings, and do not publish or cut until both measurements pass.
Can I tile sewing patterns in Seamly2D for free?
Yes. Seamly2D is free and open source, and its current Layout mode can preview, print, and export a tiled PDF directly. You do not need a paid PDF tool for the standard route.
Do I need a separate Seamly2D tutorial just for tiled printing?
You need to understand one distinction: create a large layout first, then choose A4 or Letter in tiled preview or export. The official Seamly2D User Manual covers the wider application, while this workflow handles the print handoff.
Where can I download Seamly2D?
Use the official Seamly download page. Current builds are available for Windows, macOS, and Linux.
What does the Seamly2D GitHub release tell me about printing?
The current source confirms that PDF tiled is a Layout-mode format, that the interface includes Preview tiled PDF and Print tiled PDF, and that tiled pages carry a 1 cm joining allowance with grid and page labels.
If you want a print-preflight or export workflow built for your business, see the services page.
- Last Updated
- Sep 19, 2026
- Category
- Design
Prefer this site in Google


Mark omidsaffari.com as preferred and Google lifts it in Top Stories, AI Overviews and AI Mode for you.
WeavePoint vs Fiberworks
Compare WeavePoint and Fiberworks on computer support, draft editing, WIF exchange, print output and the licence needed for your loom.Sep 19, 2026Design
Stitchmastery Knitting Software Cost
Check Stitchmastery's licence price, two-computer allowance, VAT, demo limits and upgrade terms before buying or moving an installation.Sep 19, 2026Design
Best Software for Overlay Mosaic Crochet Charts
Compare overlay mosaic crochet chart software by symbols, written rows, exports and the checks needed before you crochet.Sep 19, 2026Design
Stitchworks Crochet Charts Review
Review Stitchworks Crochet Charts for crochet symbols, rows, rounds and PDF or SVG export, including its archived status and current compatibility limits.Sep 19, 2026Design
How to Add Seam Allowance in Valentina
Add seam allowance in Valentina, adjust individual edges and fold lines, then check notches and the exported cutting outline.Sep 19, 2026Design
EnvisioKnit Review
Review EnvisioKnit for knitting pattern design: chart editing, mirrored stitches, written instructions, export files and current computer support.Sep 19, 2026Design
Best Software for Leather Patterns
Compare leather pattern software for stitching holes, PDF tracing, cut files and accurate printing, including Leathercraft CAD 4.1.1.Sep 18, 2026Design